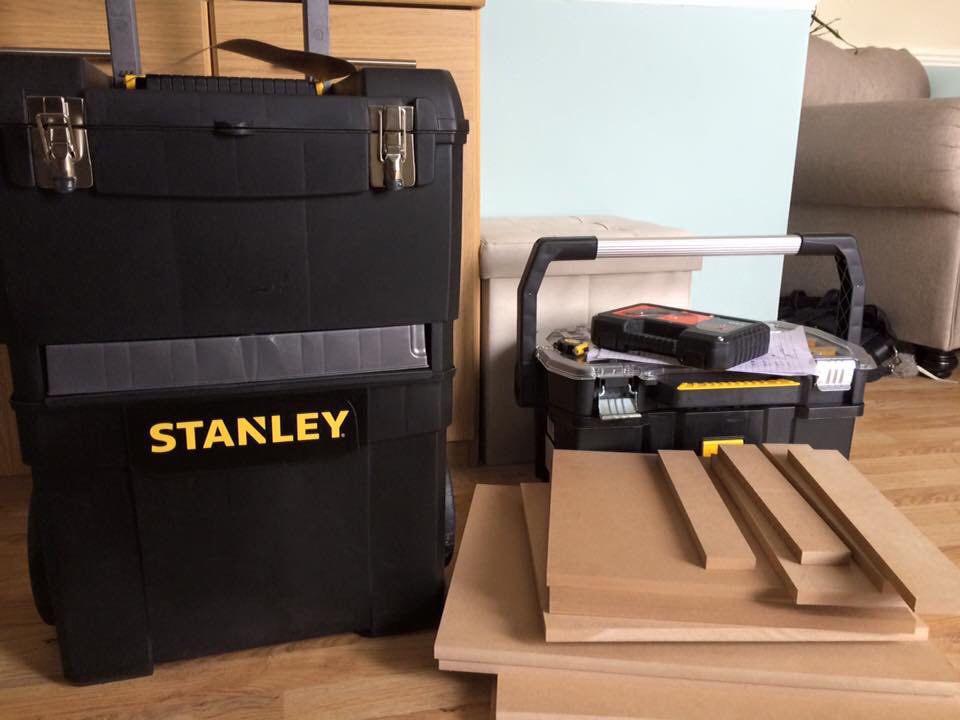
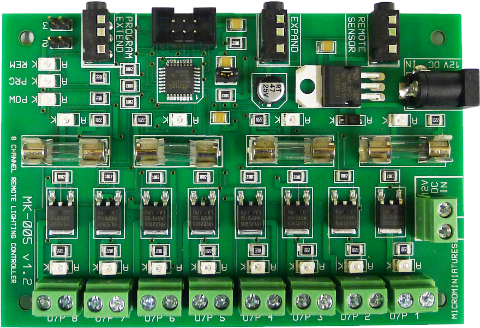
Following an enormous amount of interest in our new MK-005 remote control dolls house lighting unit and being besieged with requests for a video showing how to operate it and illustrate all of it’s features. We felt the need to produce a video showing off the stunning effects created. I turned to my good friend Sean from Valentines Miniatures and asked his advice on the best setting. We agreed on a Tudor dining room with an 8 candle cartwheel chandelier, a fireplace, 4 candle wall lights, 2 desk candles, a 3 candle floor standing miniature candelabra and provision for lighting in the window to give the effect of outside scenery.
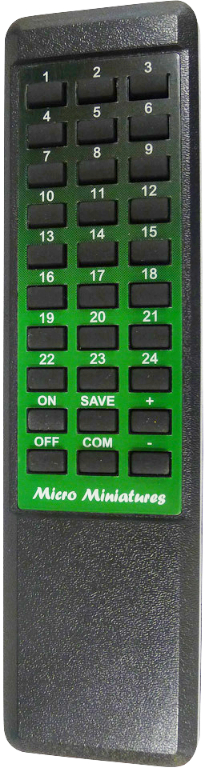
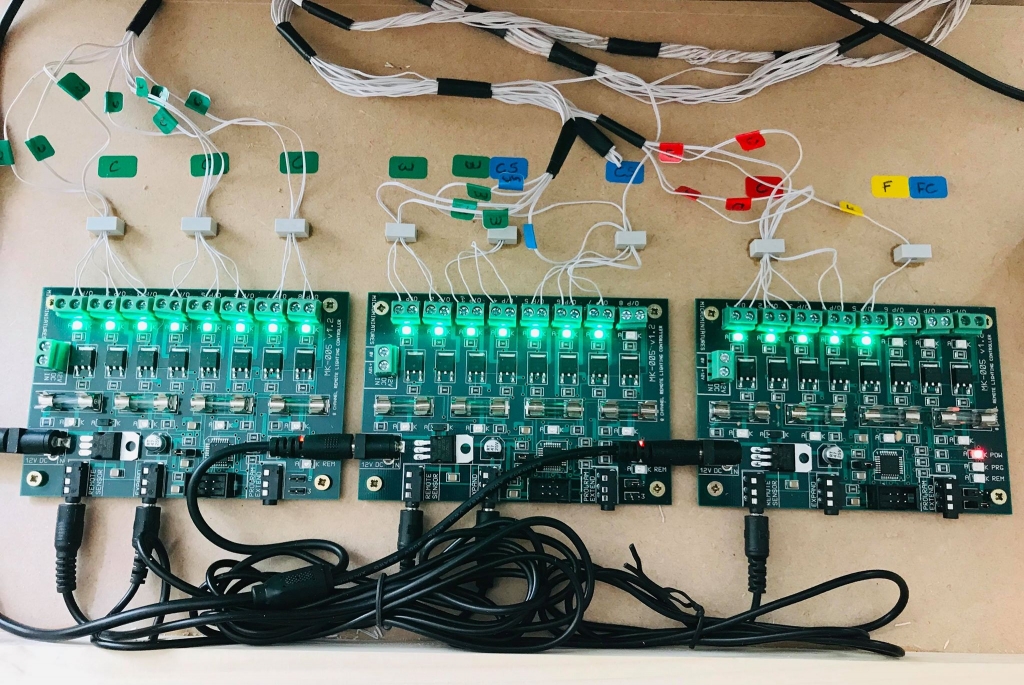
All of the cartwheel chandelier’s 8 candles would operate independently as would the 3 candles in the candelabra. The fireplace (although not originally intended) would have 5 independent bulbs to create the desired effect. The remaining wall lights and desk candles would also work independently. We will be using our MK-005 dolls house remote control lighting system to control all of the effects and lighting.
Gary from Dolls House Direct supplied an excellent room box as the basis for our miniature Tudor room. Let’s begin.
Below is the assembled room box, as you can see Sean has placed a couple of bare wood panels against the walls and added some molding to the front.
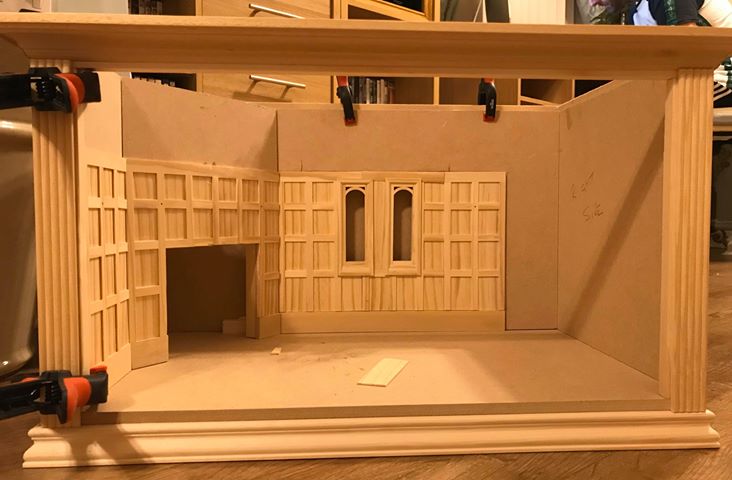
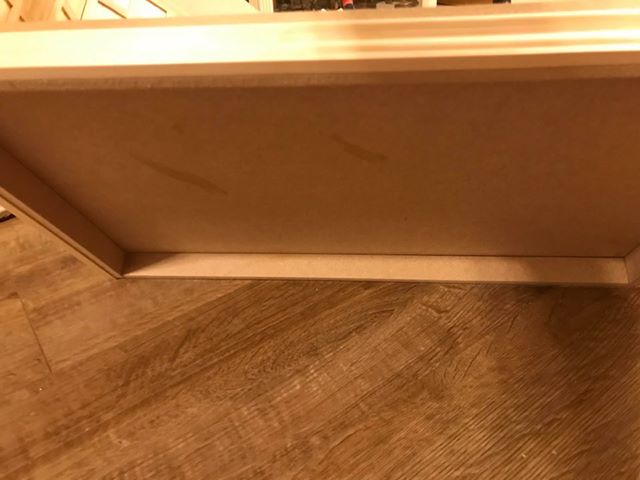
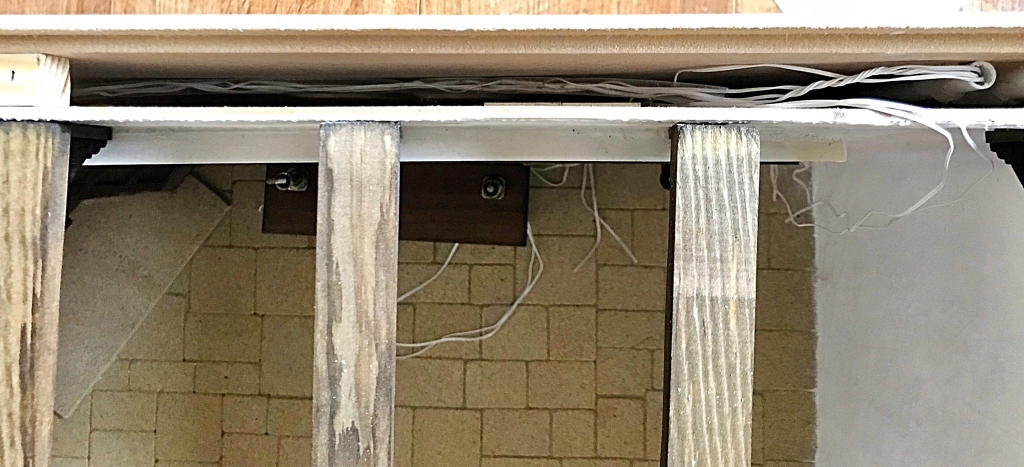
The room boxes supplied by Dolls House Direct are quite clever as they have cavity walls allowing the wiring to be hidden away…… and there will be a lot of wiring!!. There is also a space underneath to house the electronics which will control all of the lighting effects. The room box will be mounted on a small plinth making the wiring easily accessible should we want to change anything.
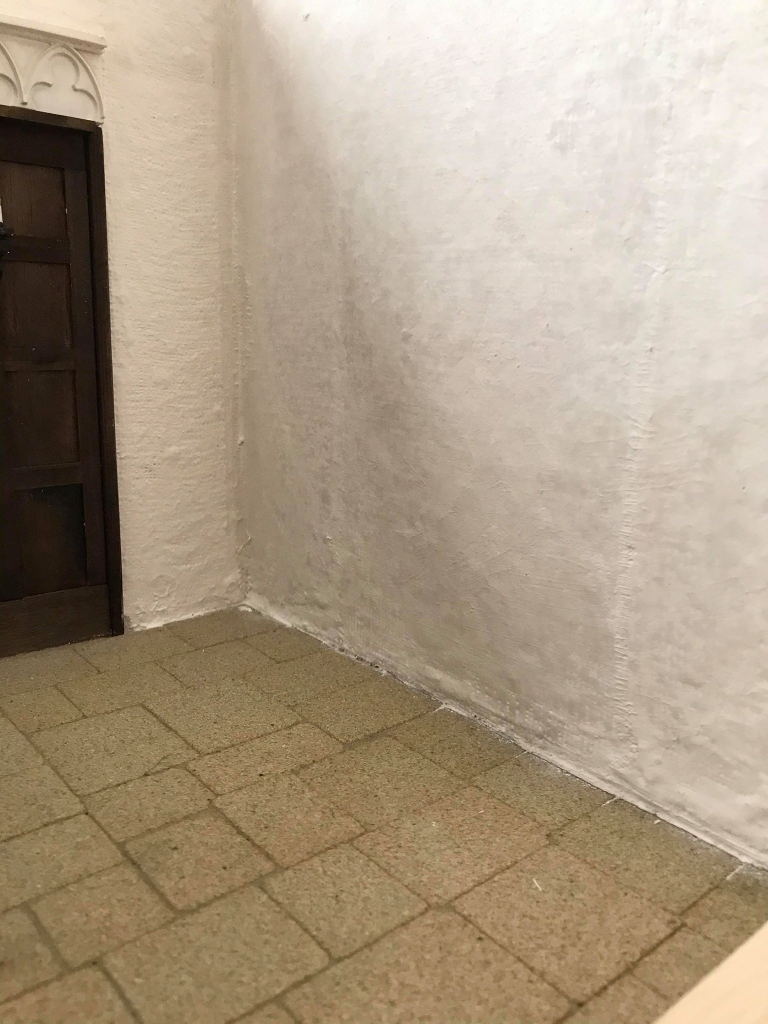
These are the flagstones we’ll be using for the floor.
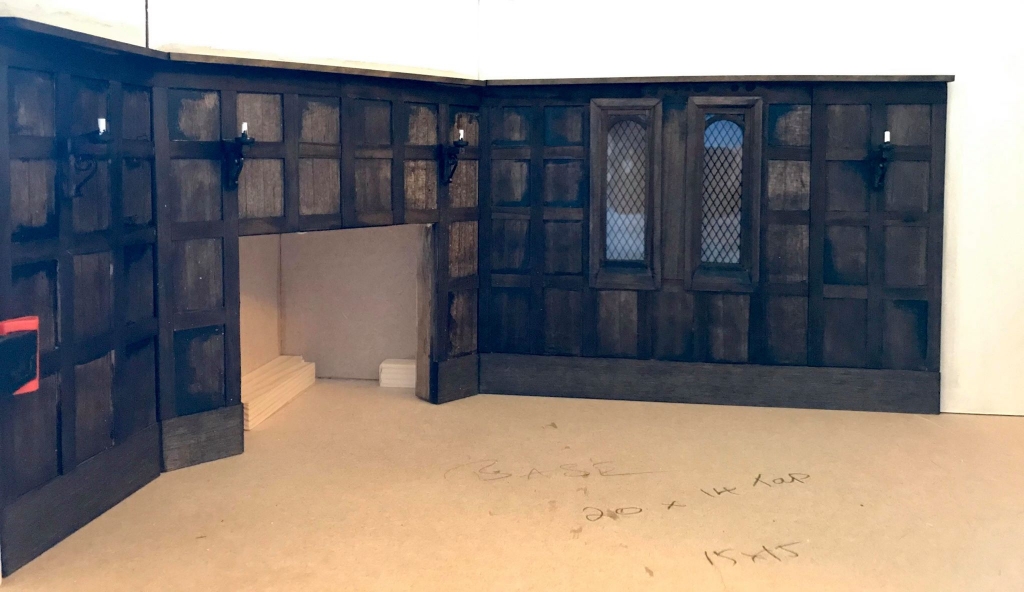
The wall panels have now been stained.
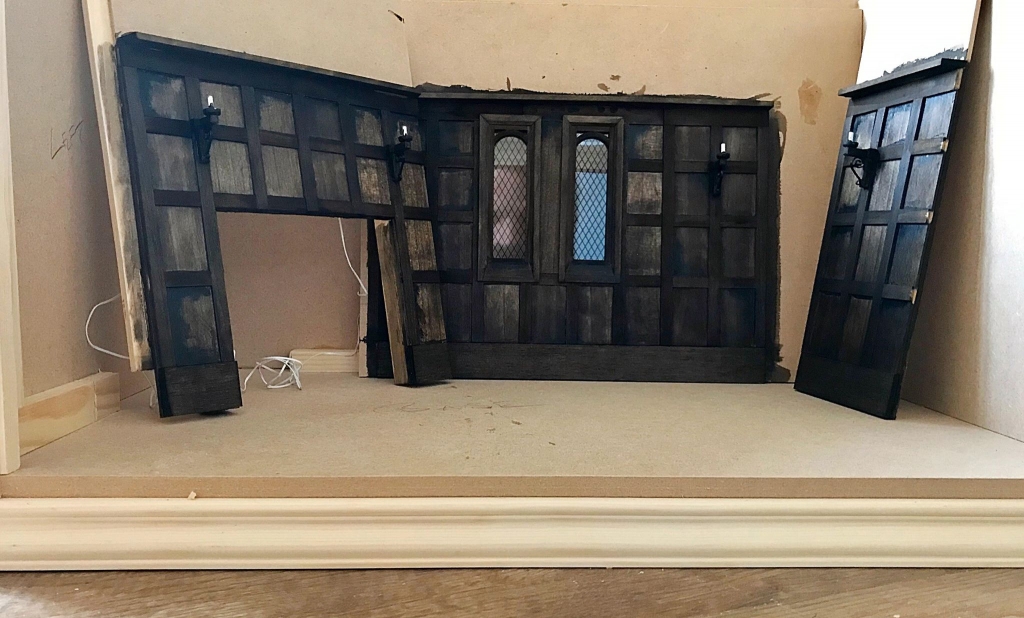
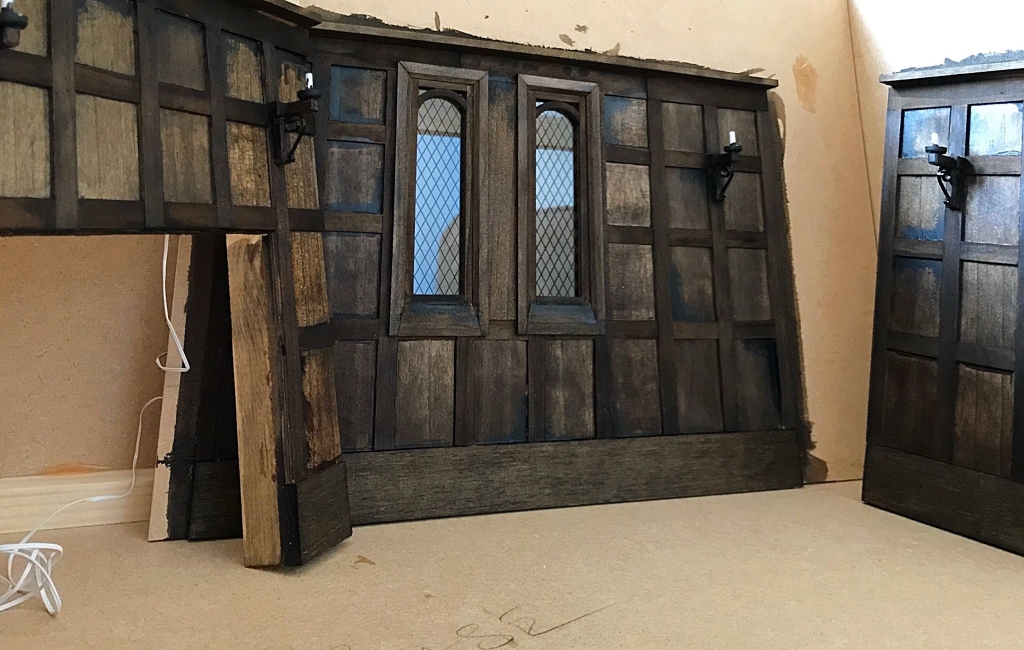
And fitted into place.
This is the start of cartwheel chandelier, if you look carefully, you’ll notice that the candle lights are not joined together but have their own individual connections. Each candle will flicker independently to produce a stunning effect. We have devoted all 8 channels of one of our controllers to this chandelier. We’ll show you more of the wiring later.
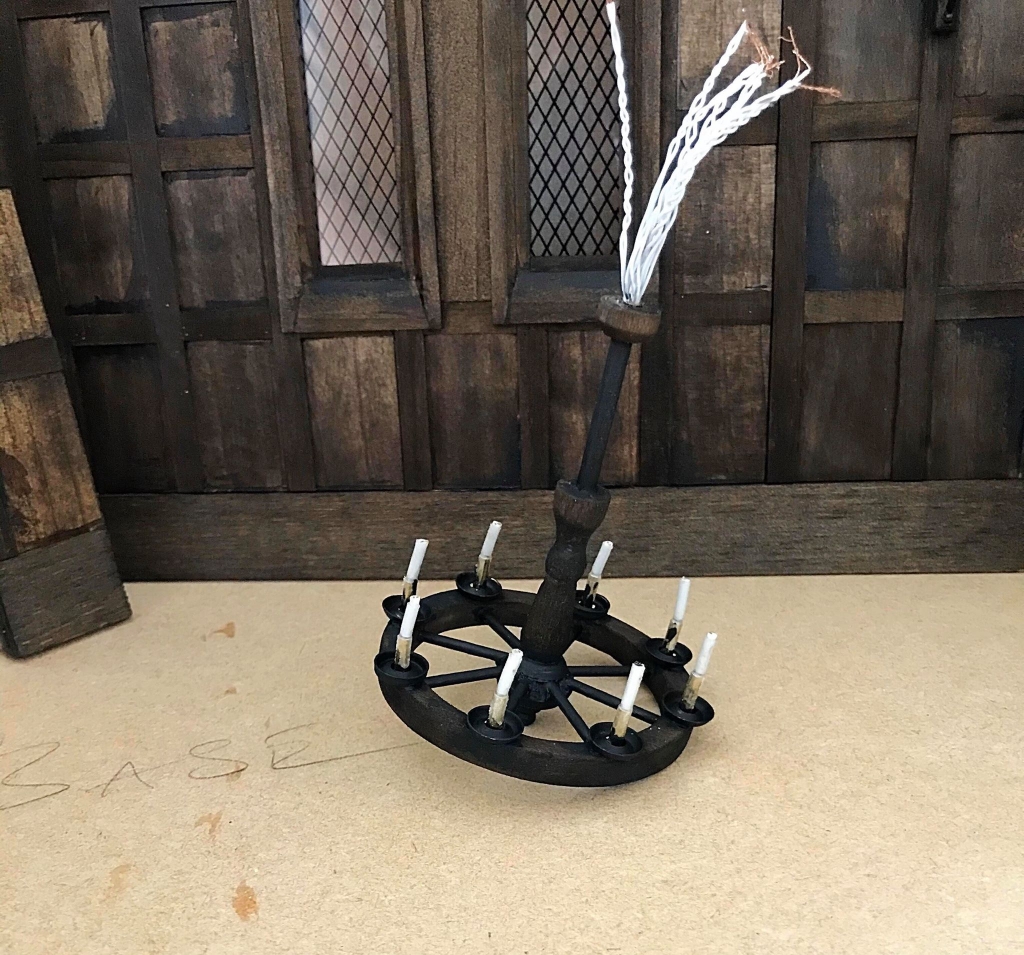
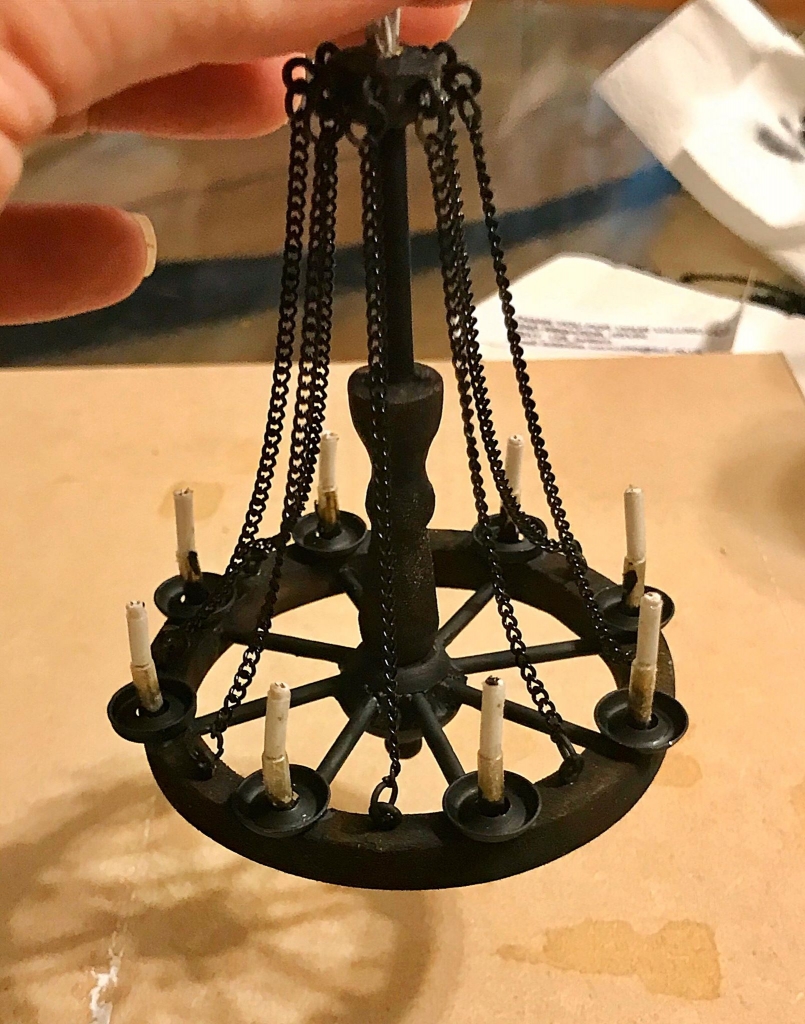
The chains have now been attached to the chandelier.
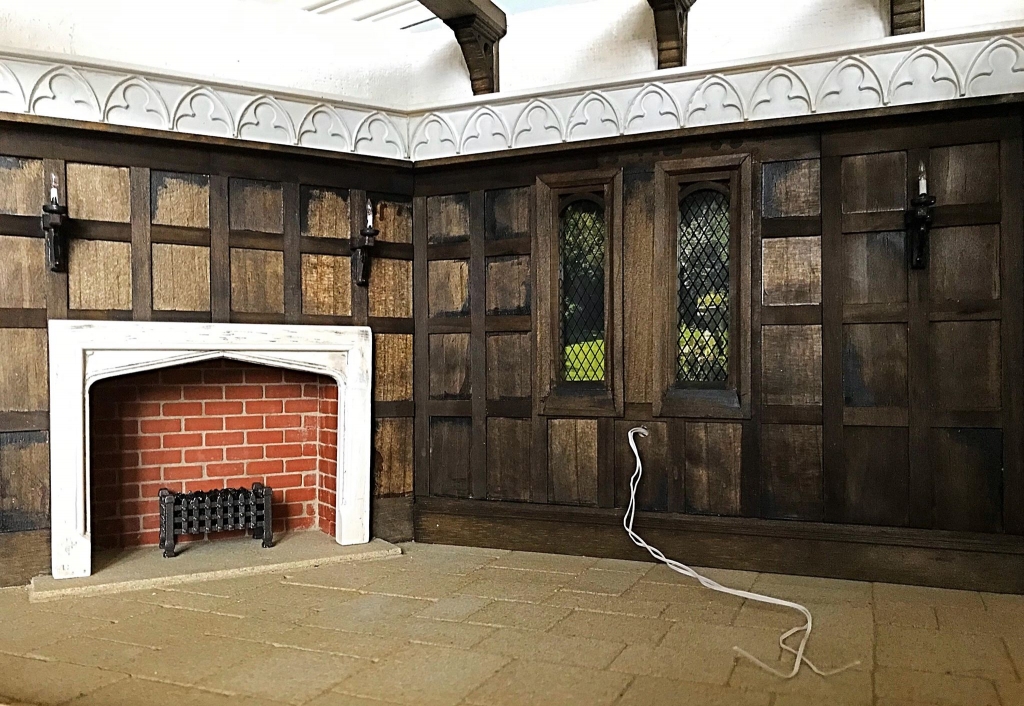
The fireplace is now in position. The wire sticking though the wall will be used as a draw cable to pull the individual wires through for the candles on the table and a couple of other lights. Every individual light will be independently controlled, so there is a lot of wiring to do and keep hidden. Remember what the fireplace looks like and compare it to how it finishes up!
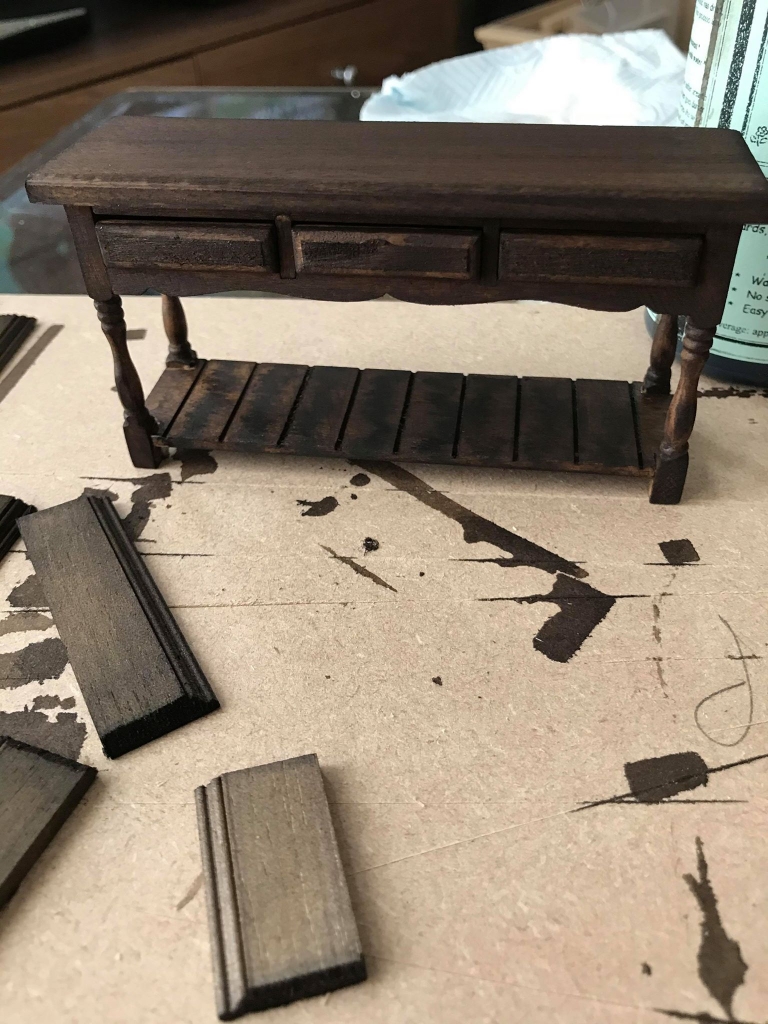
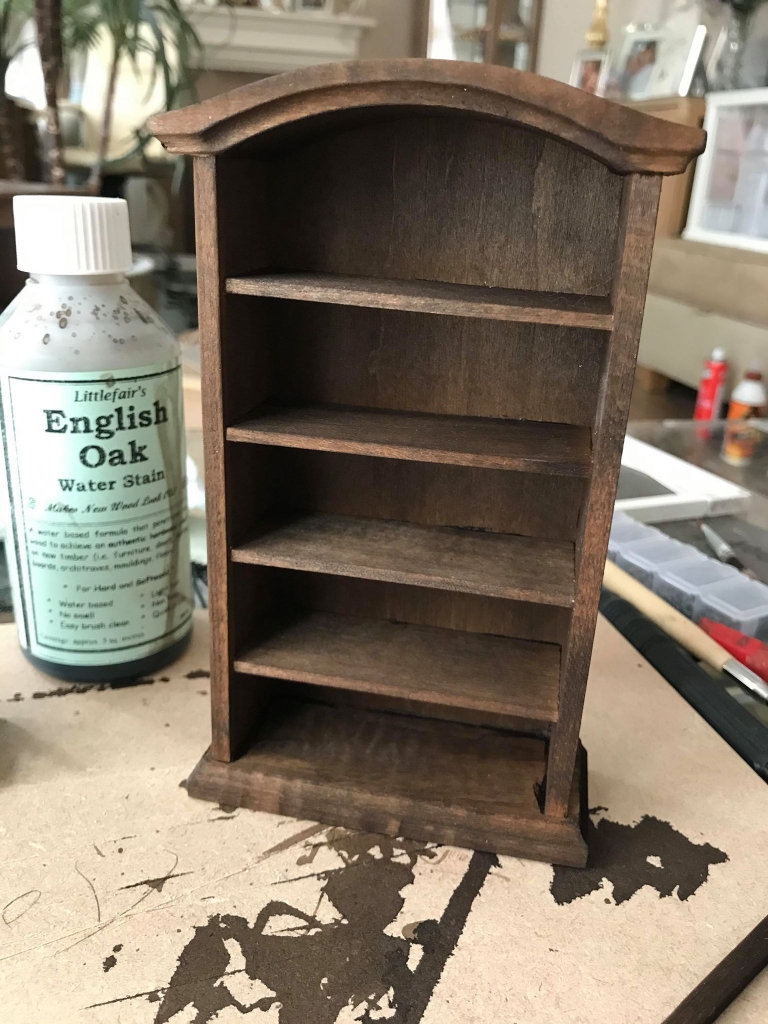
Some of the furniture after staining
A bandage is used to apply the plaster to the walls.
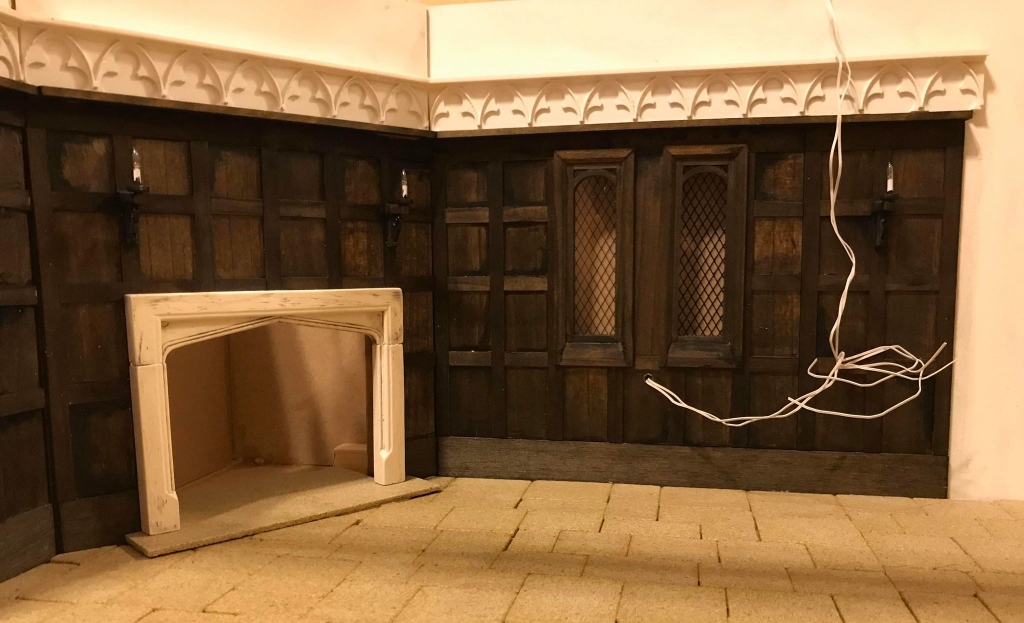
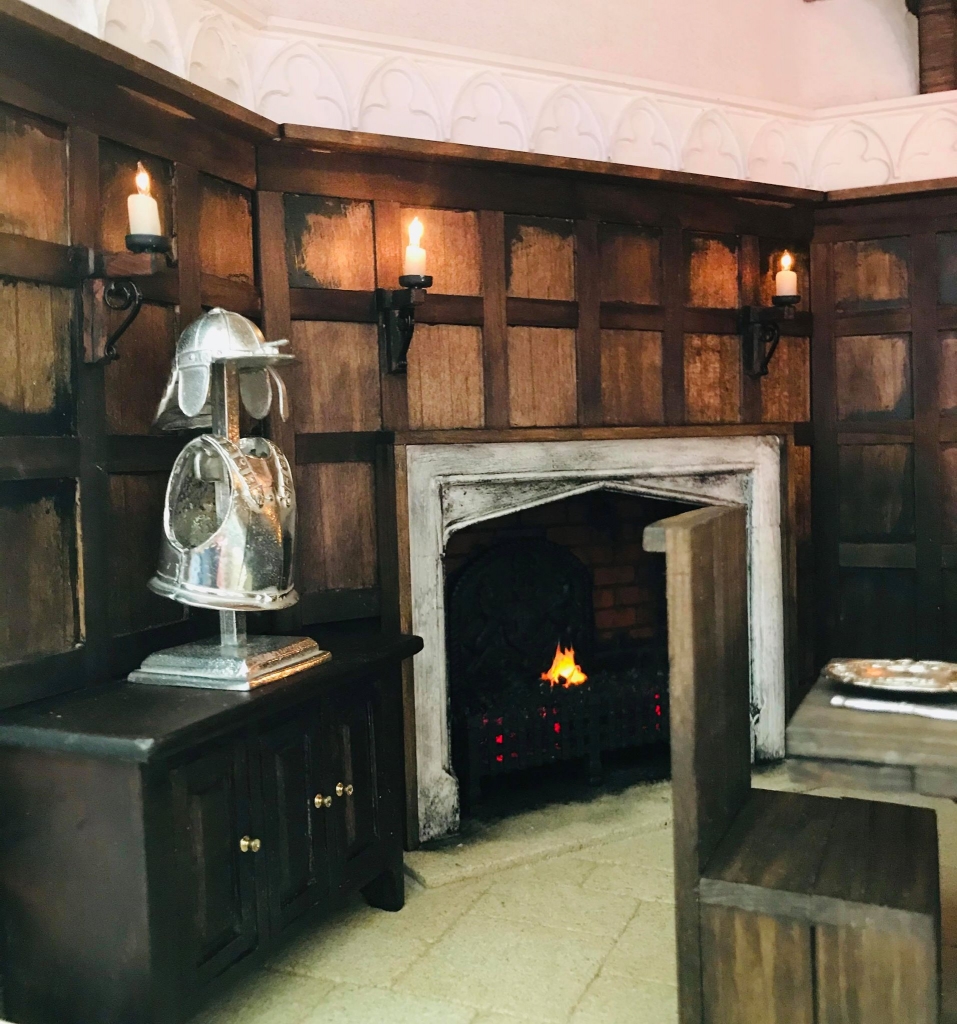
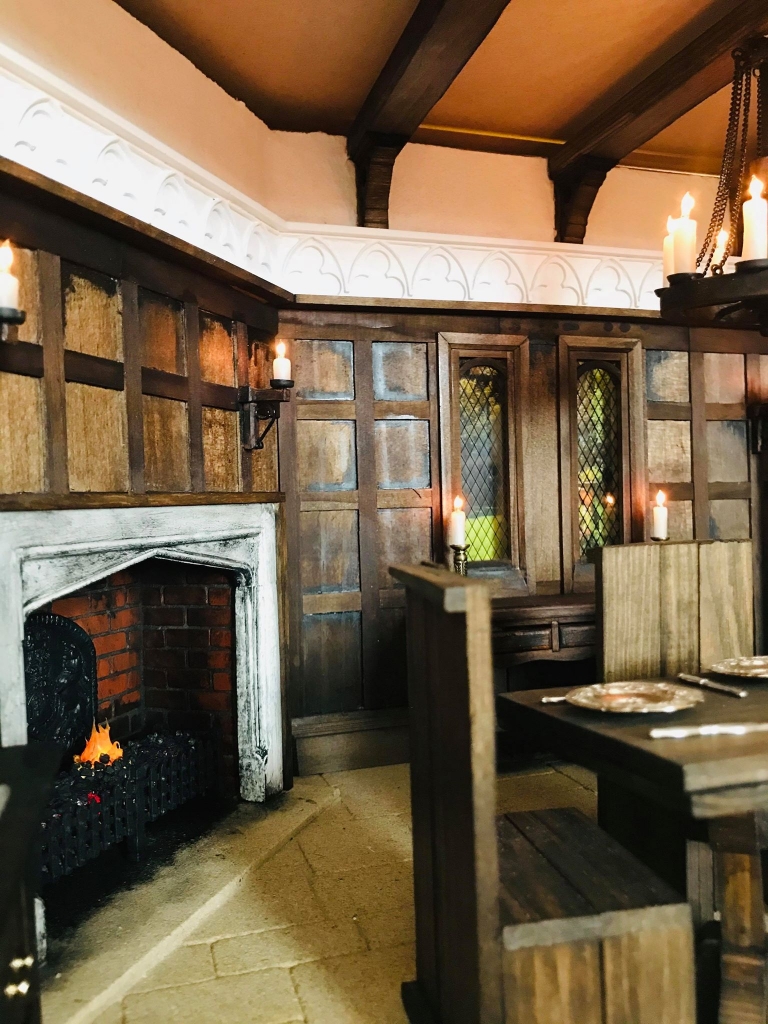
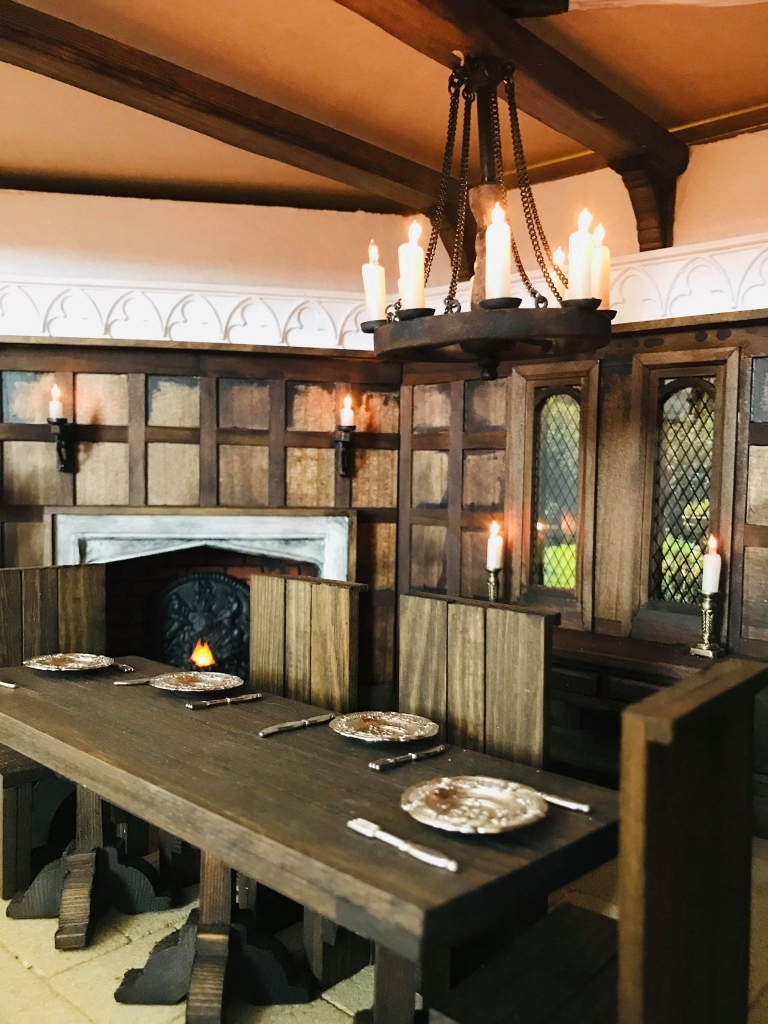
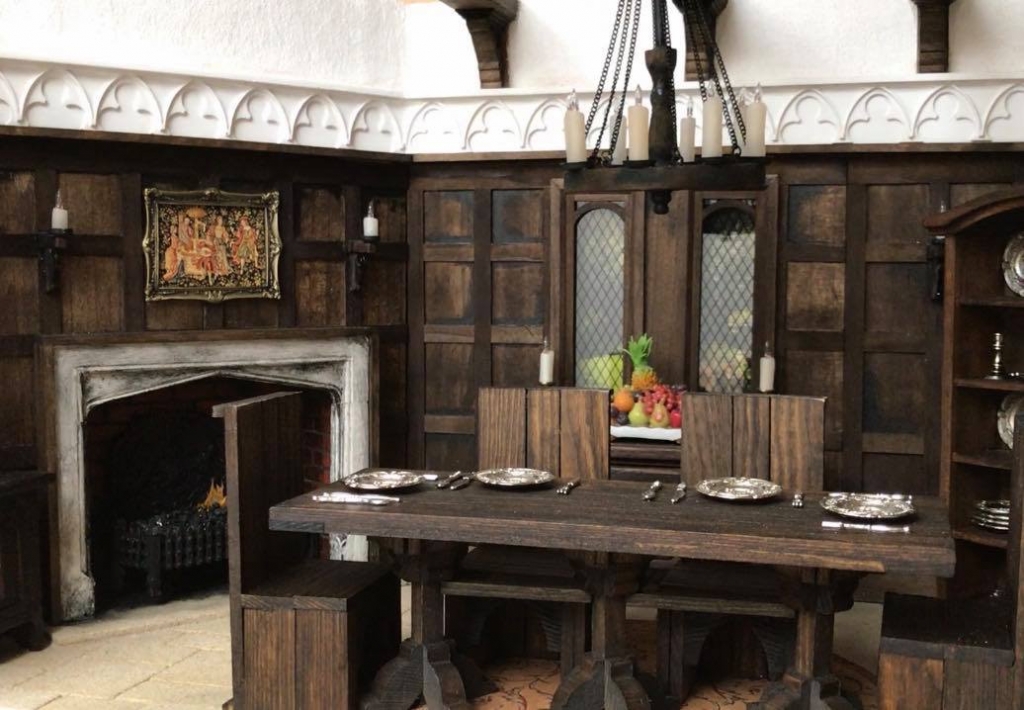
An overall look at the progress so far, notice how the fireplace looks more realistic. The hole in the middle at the front of the room box is for the remote sensor. All of the lighting effects will be operated by remote control.
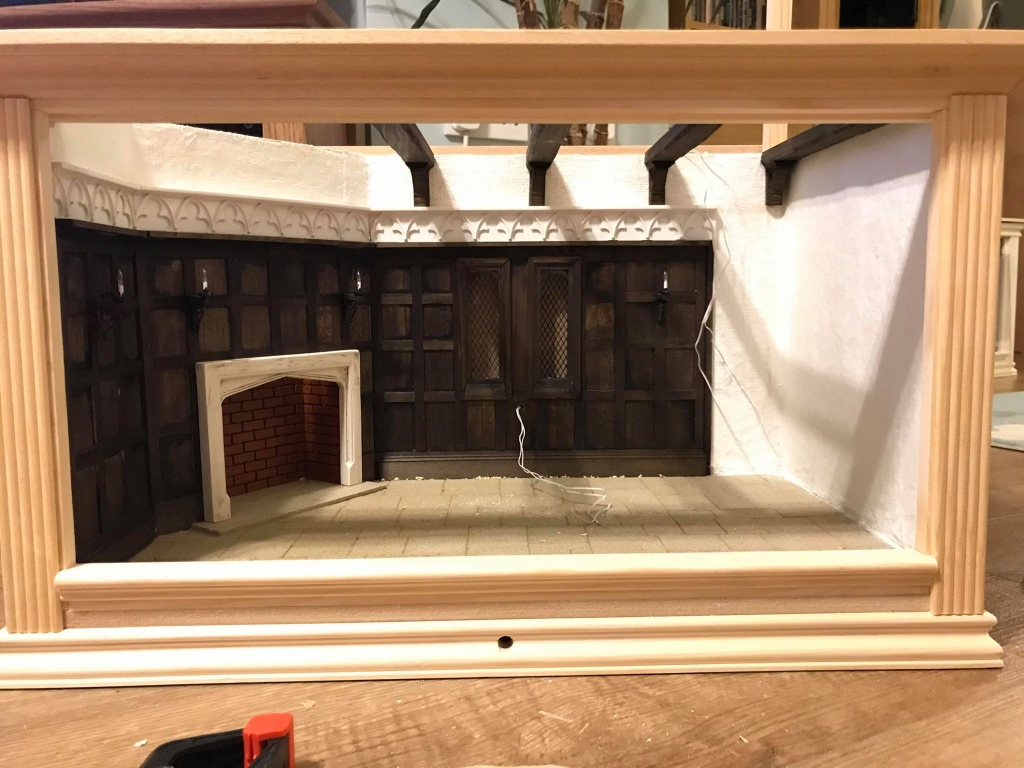
Fire grate in place and a nice view of the brickwork. You can see the fireplace stating to change now but it has a long way to go…..
This is where the table will go, the wiring for the candles will be kept out of sight and drawn through the hole in the wall.
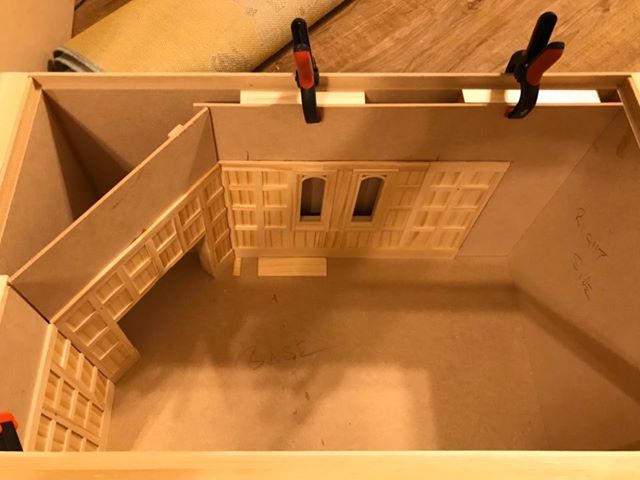
View from the top showing some of the wiring being fed to the bottom where the electronics will be housed.
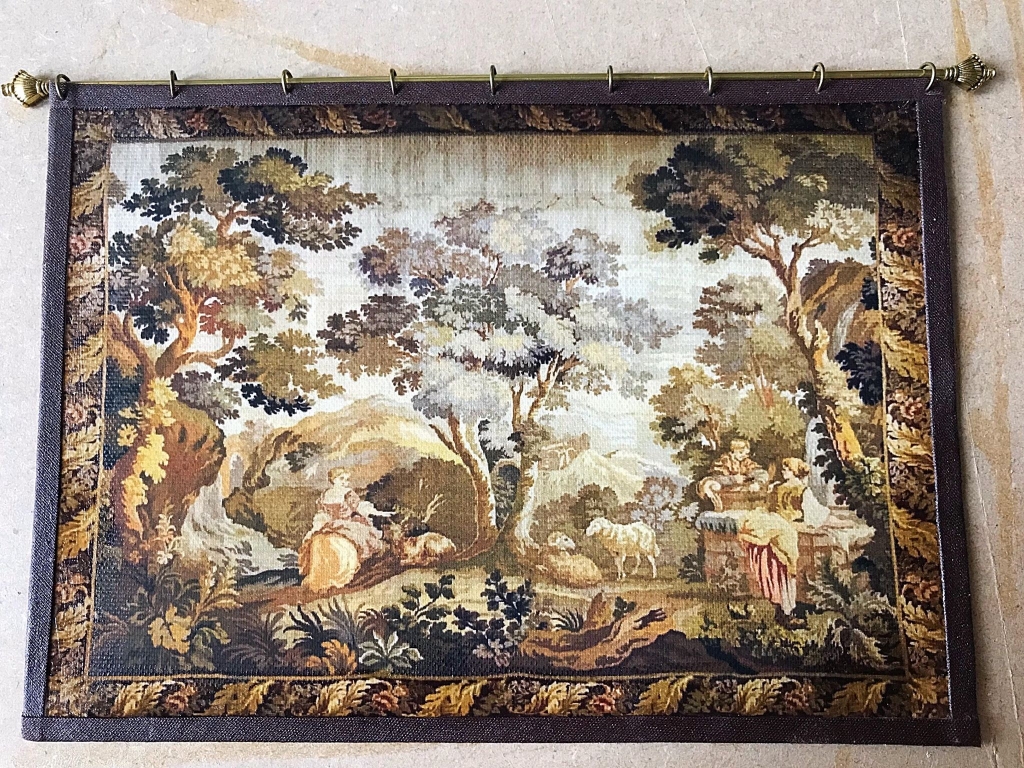
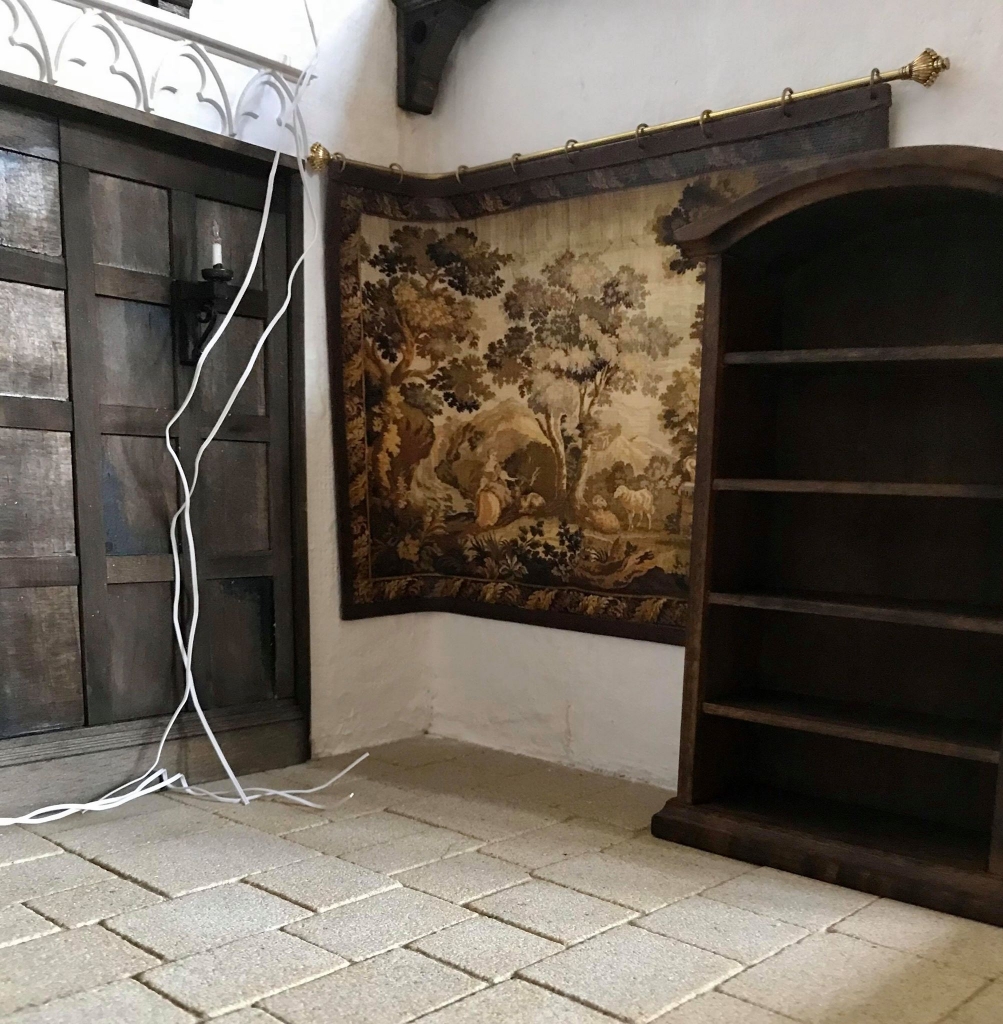
A couple of tapestries add some colour.
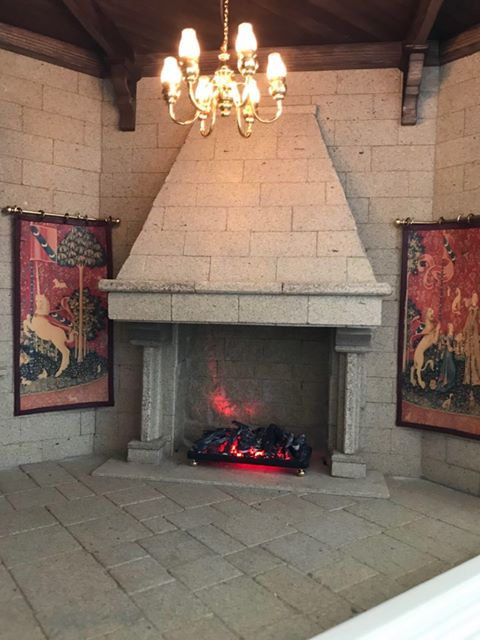
Wax clay is applied to the candles now, they look so realistic. I’m sure that they will look even more authentic once they are connected and the effects applied from the dolls house lighting controller. The double size model fireplace has been supplied by Dolls House Direct, Sean has added the flames to the top. The effects are created by 5 independent bulbs programmed to simulate a coal fire. The effect is the best I’ve ever seen for a dolls house coal fire. We are now developing a dedicated dolls house fire simulator which will fit inside the fire grate and control the flickering effect of the 5 bulbs. This will be available soon.
As there are so many independent lights withing the room we have had to use 2 expansion boards along with the original remote control board. Sean wired and programmed all of the outputs used so far in about an hour and fifteen minutes. This gives you an idea of how simple it is to use the Microminiatures remote control dolls house lighting system once you are familiar with it’s operation. Take a quick look mat the concise instructions supplied with our controllers and see for yourself.
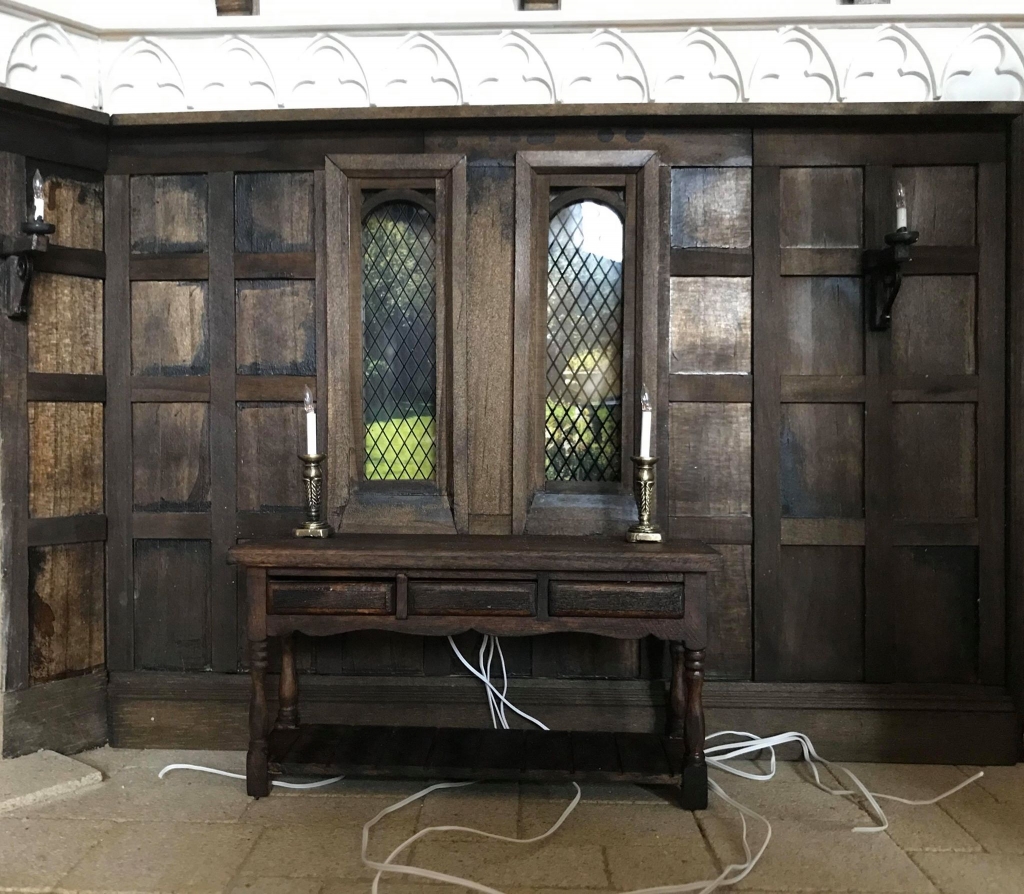
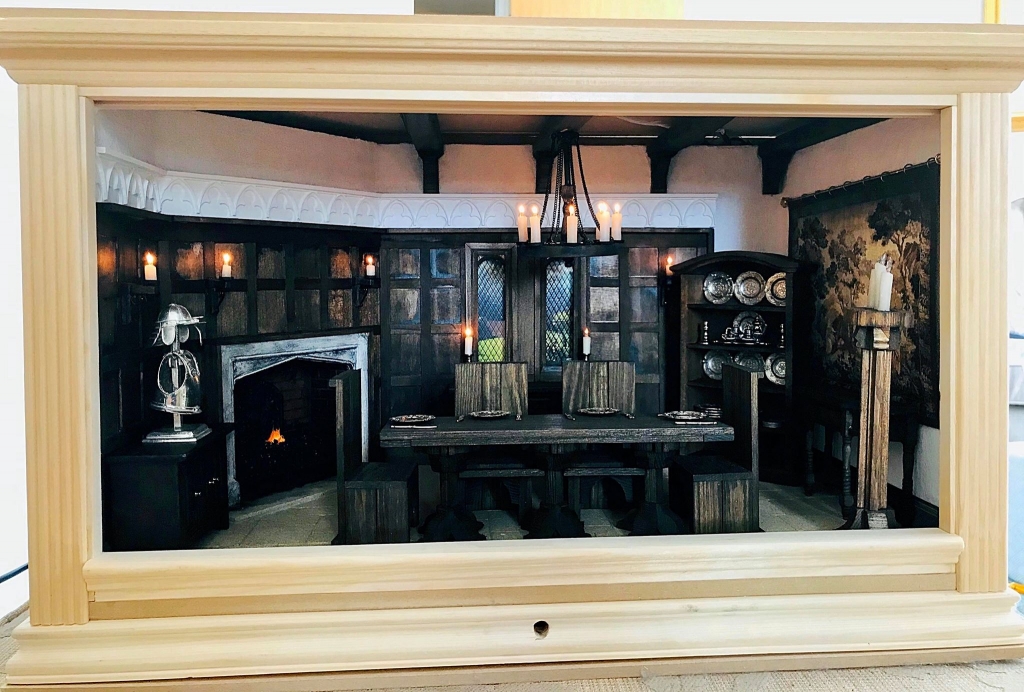
Sean is virtually there now, just a bit more work to do on the ceiling and the outside. Here are a few more images of the interior. Take a good look at the superb job Sean has made of aging the fireplace and surround.
To see more of Sean’s excellent work visit Valentinesminiatures.co.uk or search for Valentines Miniatures on Facebook